> ## Documentation Index
> Fetch the complete documentation index at: https://docs.digifist.com/llms.txt
> Use this file to discover all available pages before exploring further.
# Install on Shopify
> Install Galantis WhatsApp from the Shopify App Store, grant the required permissions, and launch into the in-app onboarding wizard.
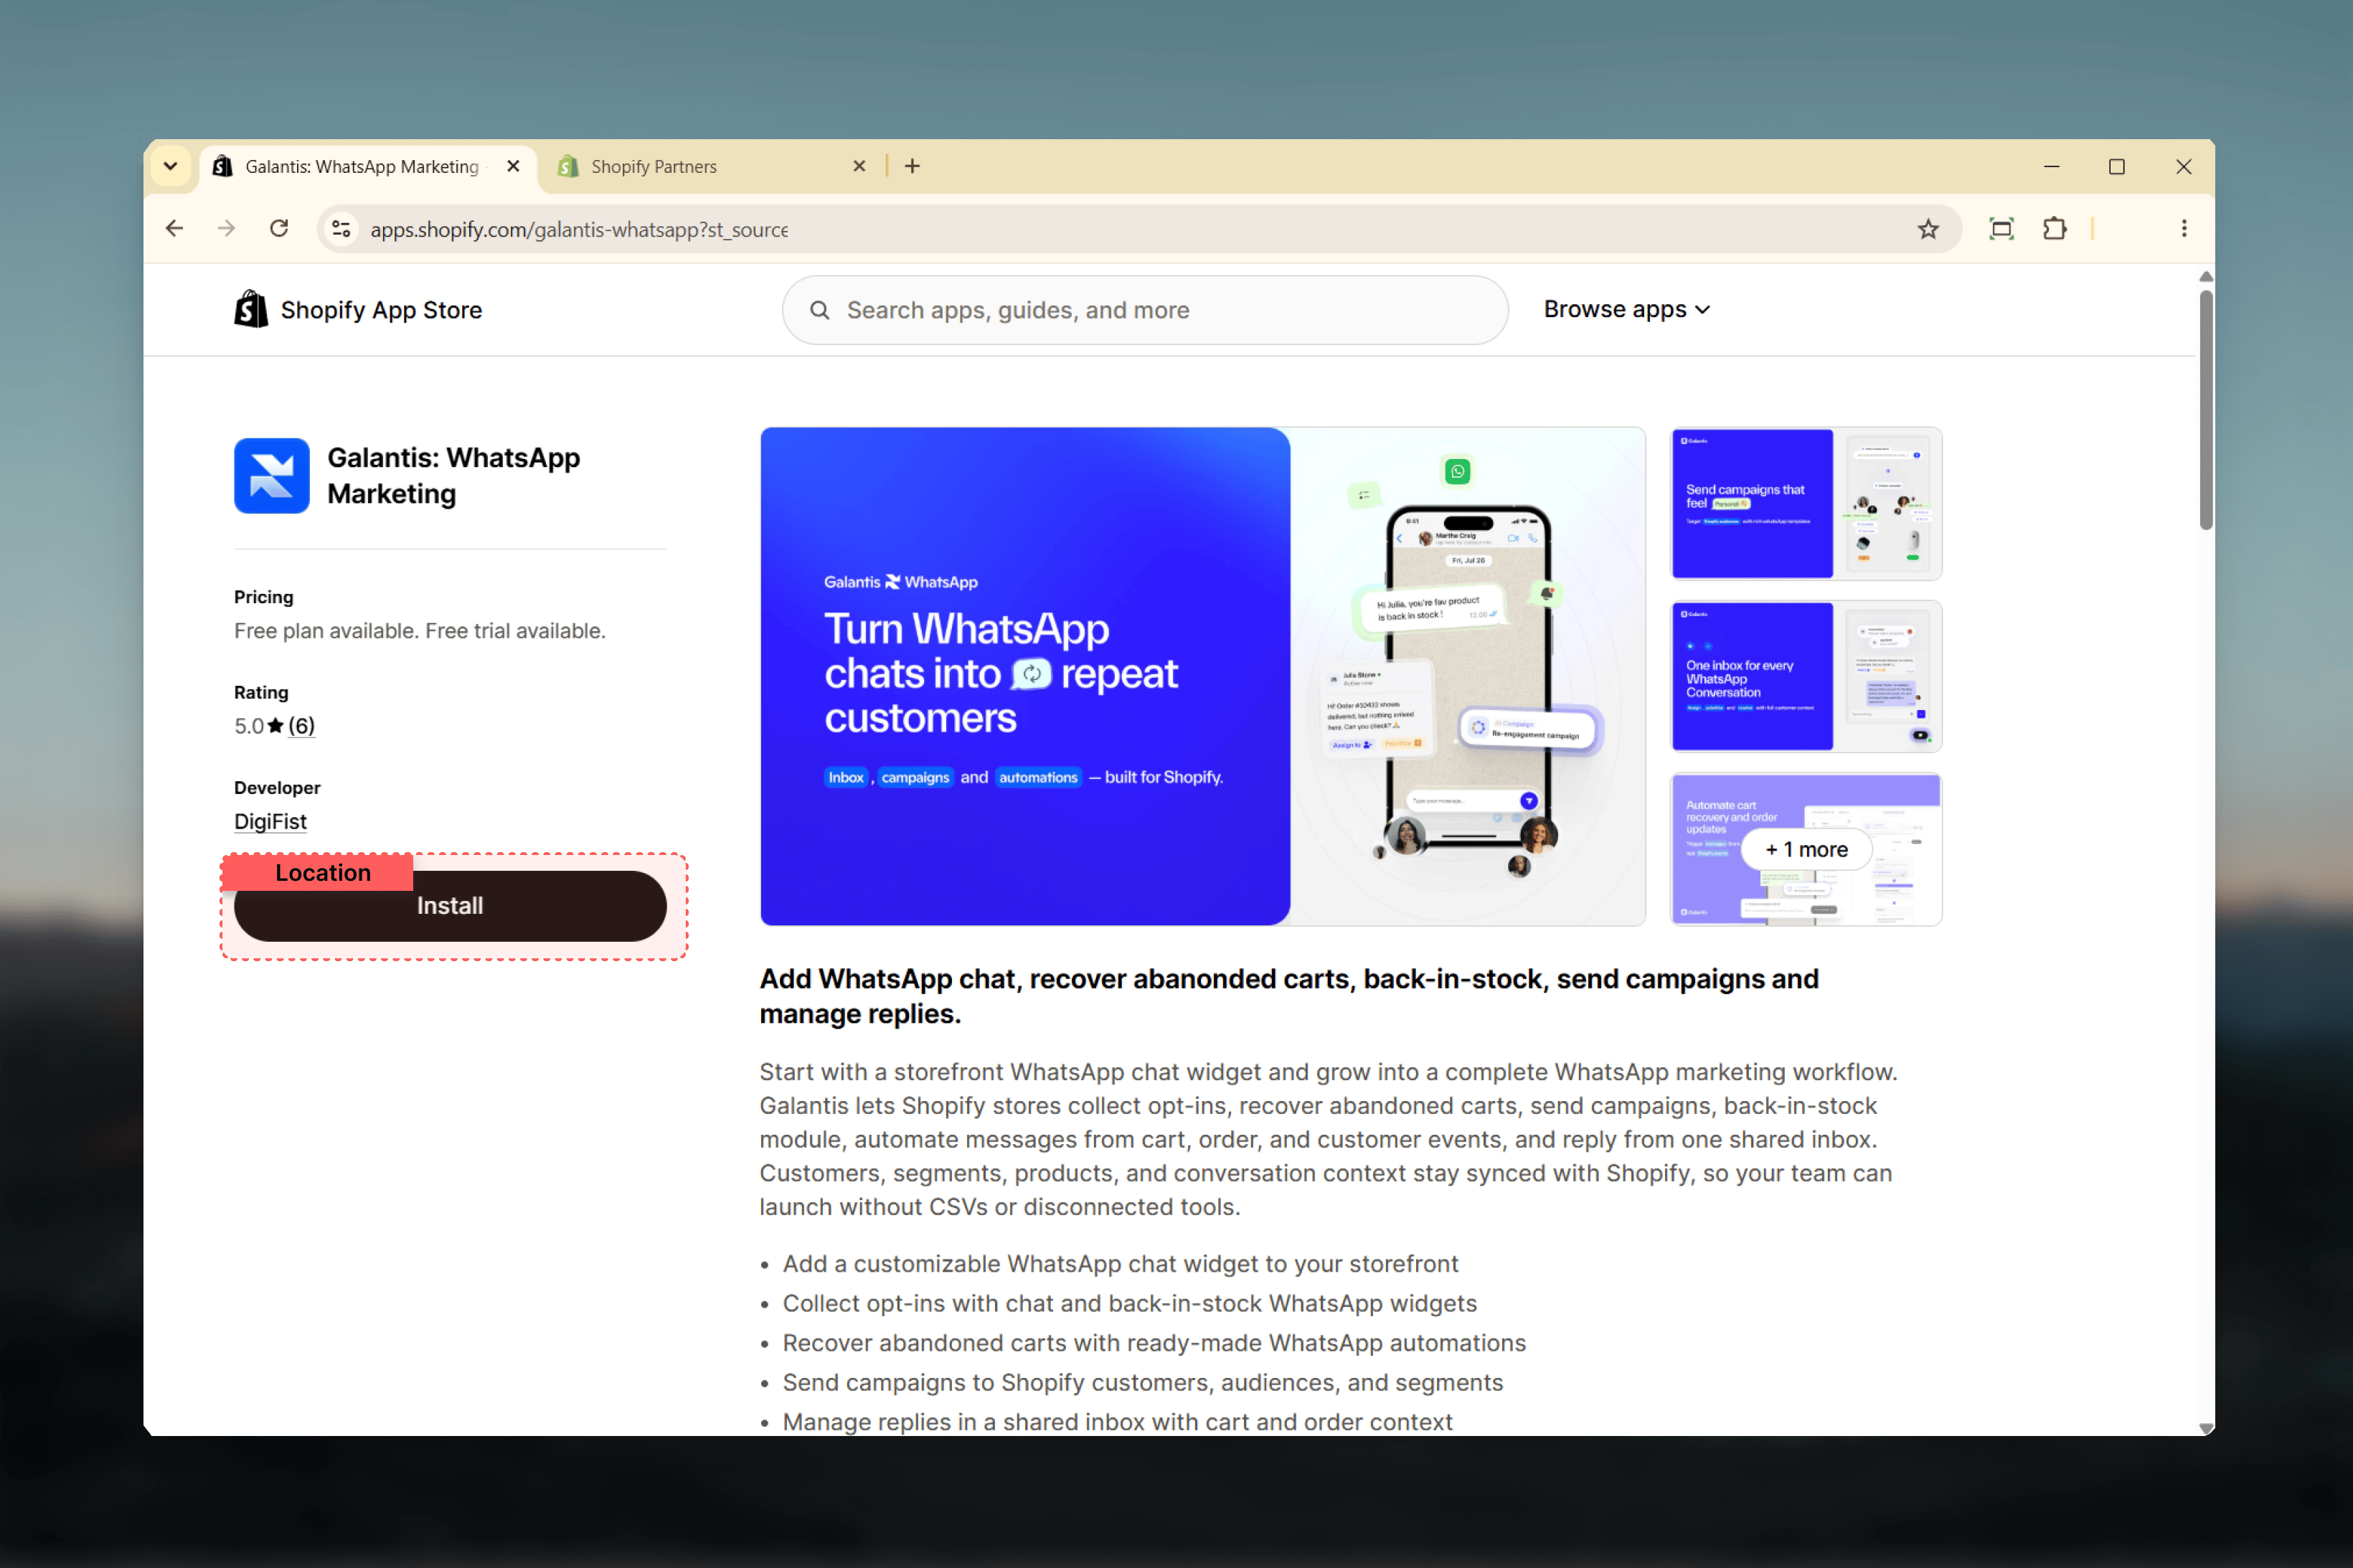
Galantis WhatsApp is a public Shopify app. Installation is the standard Shopify flow — review permissions, click install, and you land back in your Shopify admin with the Galantis app launched. The whole step usually takes under 2 minutes.
There are two ways to connect: the **full WhatsApp Platform** (campaigns and automations) or a **simple chat button**. If you are not sure which you need, read [Choose Your Connection](/galantis/whatsapp/getting-started/choose-your-connection) first.
Open the official Shopify App Store listing and click **Install**. You'll be prompted to sign in to Shopify if you aren't already.
## What happens during install
Use the install card above or visit [apps.shopify.com/galantis-whatsapp](https://apps.shopify.com/galantis-whatsapp) directly. Sign in to the Shopify account that owns the store you want to install on.
Shopify displays the data scopes Galantis requests — customers, orders, products, checkouts, script tags. Each one powers a specific Galantis feature. See [Required permissions](#required-permissions) below for what each scope unlocks.
Shopify provisions the install, grants the permissions, and redirects you to the Galantis app inside your Shopify admin.
Once you land in Galantis, the onboarding wizard appears on the dashboard. Its first step launches **Meta's Embedded Signup modal** to connect WhatsApp — see [Connect WhatsApp](/galantis/whatsapp/getting-started/whatsapp-connection) for the modal walkthrough. From install to a connected dashboard typically takes about 5 minutes for merchants who already have a WhatsApp Business Account.
 ## Required permissions
Galantis requests these Shopify permissions during installation. Each one is tied to a specific feature — denying any disables the feature that depends on it.
**Read and write customers** — Syncs customer contact profiles and marketing consent state into Galantis. Consent status (`marketing_state`) is pulled from Shopify and kept in sync via webhook so opt-ins captured at checkout or in your customer account appear immediately in Galantis audiences.
**Read and write orders** — Required for order-based automation triggers (New Order Placed, Order Cancelled, Order Shipped), revenue analytics, and customer segment rules based on purchase history.
**Read products and collections** — Required for the Catalog module. Product and collection data is synced into Galantis and optionally pushed to Meta for product message templates and catalog campaigns.
**Read checkouts** — Required for the Abandoned Checkout automation trigger. Galantis polls for incomplete checkouts every 10 minutes and matches them to opt-in customers.
**Read and write script tags** — Required to inject the storefront chat widget (Inbox) and the Back-in-Stock subscription widget into your Shopify theme. No manual theme code editing is needed.
All permissions are required for the platform to function end to end. You can install Galantis with a subset and still explore the dashboard, but features tied to denied scopes will be inactive until you re-authorize. See the [Shopify permissions reference](/galantis/whatsapp/integrations/shopify/permissions) for the full breakdown.
## What the in-app onboarding wizard does
After install, the wizard guides you through:
1. **Connect WhatsApp** — launches Meta's [Embedded Signup modal](/galantis/whatsapp/getting-started/whatsapp-connection) to attach (or migrate, or create) your WABA and phone number
2. **Sync your Shopify catalog** — optional during onboarding, can be skipped and configured later — see [First catalog sync](/galantis/whatsapp/getting-started/first-catalog-sync)
3. **Invite team members** — optional; roles and seats can be configured later under **Settings → Team**
Skip steps you're not ready for. The wizard remembers progress and you can resume from the dashboard.
## Uninstalling Galantis
If you ever need to uninstall: in your Shopify admin, go to **Settings → Apps and sales channels**, find Galantis WhatsApp, and click **Uninstall**. Shopify revokes all granted permissions automatically. Your Galantis workspace data is retained according to standard retention policy in case you reinstall later.
***
The Embedded Signup walkthrough — the natural next step after installing.
Deep reference for every scope, what it enables, and what breaks if it's missing.
## Required permissions
Galantis requests these Shopify permissions during installation. Each one is tied to a specific feature — denying any disables the feature that depends on it.
**Read and write customers** — Syncs customer contact profiles and marketing consent state into Galantis. Consent status (`marketing_state`) is pulled from Shopify and kept in sync via webhook so opt-ins captured at checkout or in your customer account appear immediately in Galantis audiences.
**Read and write orders** — Required for order-based automation triggers (New Order Placed, Order Cancelled, Order Shipped), revenue analytics, and customer segment rules based on purchase history.
**Read products and collections** — Required for the Catalog module. Product and collection data is synced into Galantis and optionally pushed to Meta for product message templates and catalog campaigns.
**Read checkouts** — Required for the Abandoned Checkout automation trigger. Galantis polls for incomplete checkouts every 10 minutes and matches them to opt-in customers.
**Read and write script tags** — Required to inject the storefront chat widget (Inbox) and the Back-in-Stock subscription widget into your Shopify theme. No manual theme code editing is needed.
All permissions are required for the platform to function end to end. You can install Galantis with a subset and still explore the dashboard, but features tied to denied scopes will be inactive until you re-authorize. See the [Shopify permissions reference](/galantis/whatsapp/integrations/shopify/permissions) for the full breakdown.
## What the in-app onboarding wizard does
After install, the wizard guides you through:
1. **Connect WhatsApp** — launches Meta's [Embedded Signup modal](/galantis/whatsapp/getting-started/whatsapp-connection) to attach (or migrate, or create) your WABA and phone number
2. **Sync your Shopify catalog** — optional during onboarding, can be skipped and configured later — see [First catalog sync](/galantis/whatsapp/getting-started/first-catalog-sync)
3. **Invite team members** — optional; roles and seats can be configured later under **Settings → Team**
Skip steps you're not ready for. The wizard remembers progress and you can resume from the dashboard.
## Uninstalling Galantis
If you ever need to uninstall: in your Shopify admin, go to **Settings → Apps and sales channels**, find Galantis WhatsApp, and click **Uninstall**. Shopify revokes all granted permissions automatically. Your Galantis workspace data is retained according to standard retention policy in case you reinstall later.
***
The Embedded Signup walkthrough — the natural next step after installing.
Deep reference for every scope, what it enables, and what breaks if it's missing.