

Plan selection is part of the install flow — even the $0 Free plan must be actively selected on Shopify’s plan-selection page before you land on the Dashboard. Every feature is available on every plan; plans differ only by limits.
The journey
1
Install from the Shopify App Store
Install Galantis Discount Flow from the Shopify App Store and approve the permissions Shopify shows. The app syncs your shop’s currency, locale, and timezone automatically. See Installation.
2
Pick a plan
If you’ve never selected a plan, Shopify redirects you to its hosted plan-selection page. Choose Free (up to 3 active campaigns with monthly usage caps) or Pro (unlimited campaigns, unmetered usage), then land on the Dashboard.
3
Create your first campaign
Use the 3-step wizard: pick a template or Start from scratch, name the campaign and shape it in the Rule Builder, then set active dates and combinations. Finish with Save as draft or Create Campaign. See Your first campaign.
4
Enable the theme app embed
In the Shopify theme editor, switch on the Galantis Discount Flow app embed so free gifts are auto-added on the storefront and customers see discount signals. See Storefront setup.
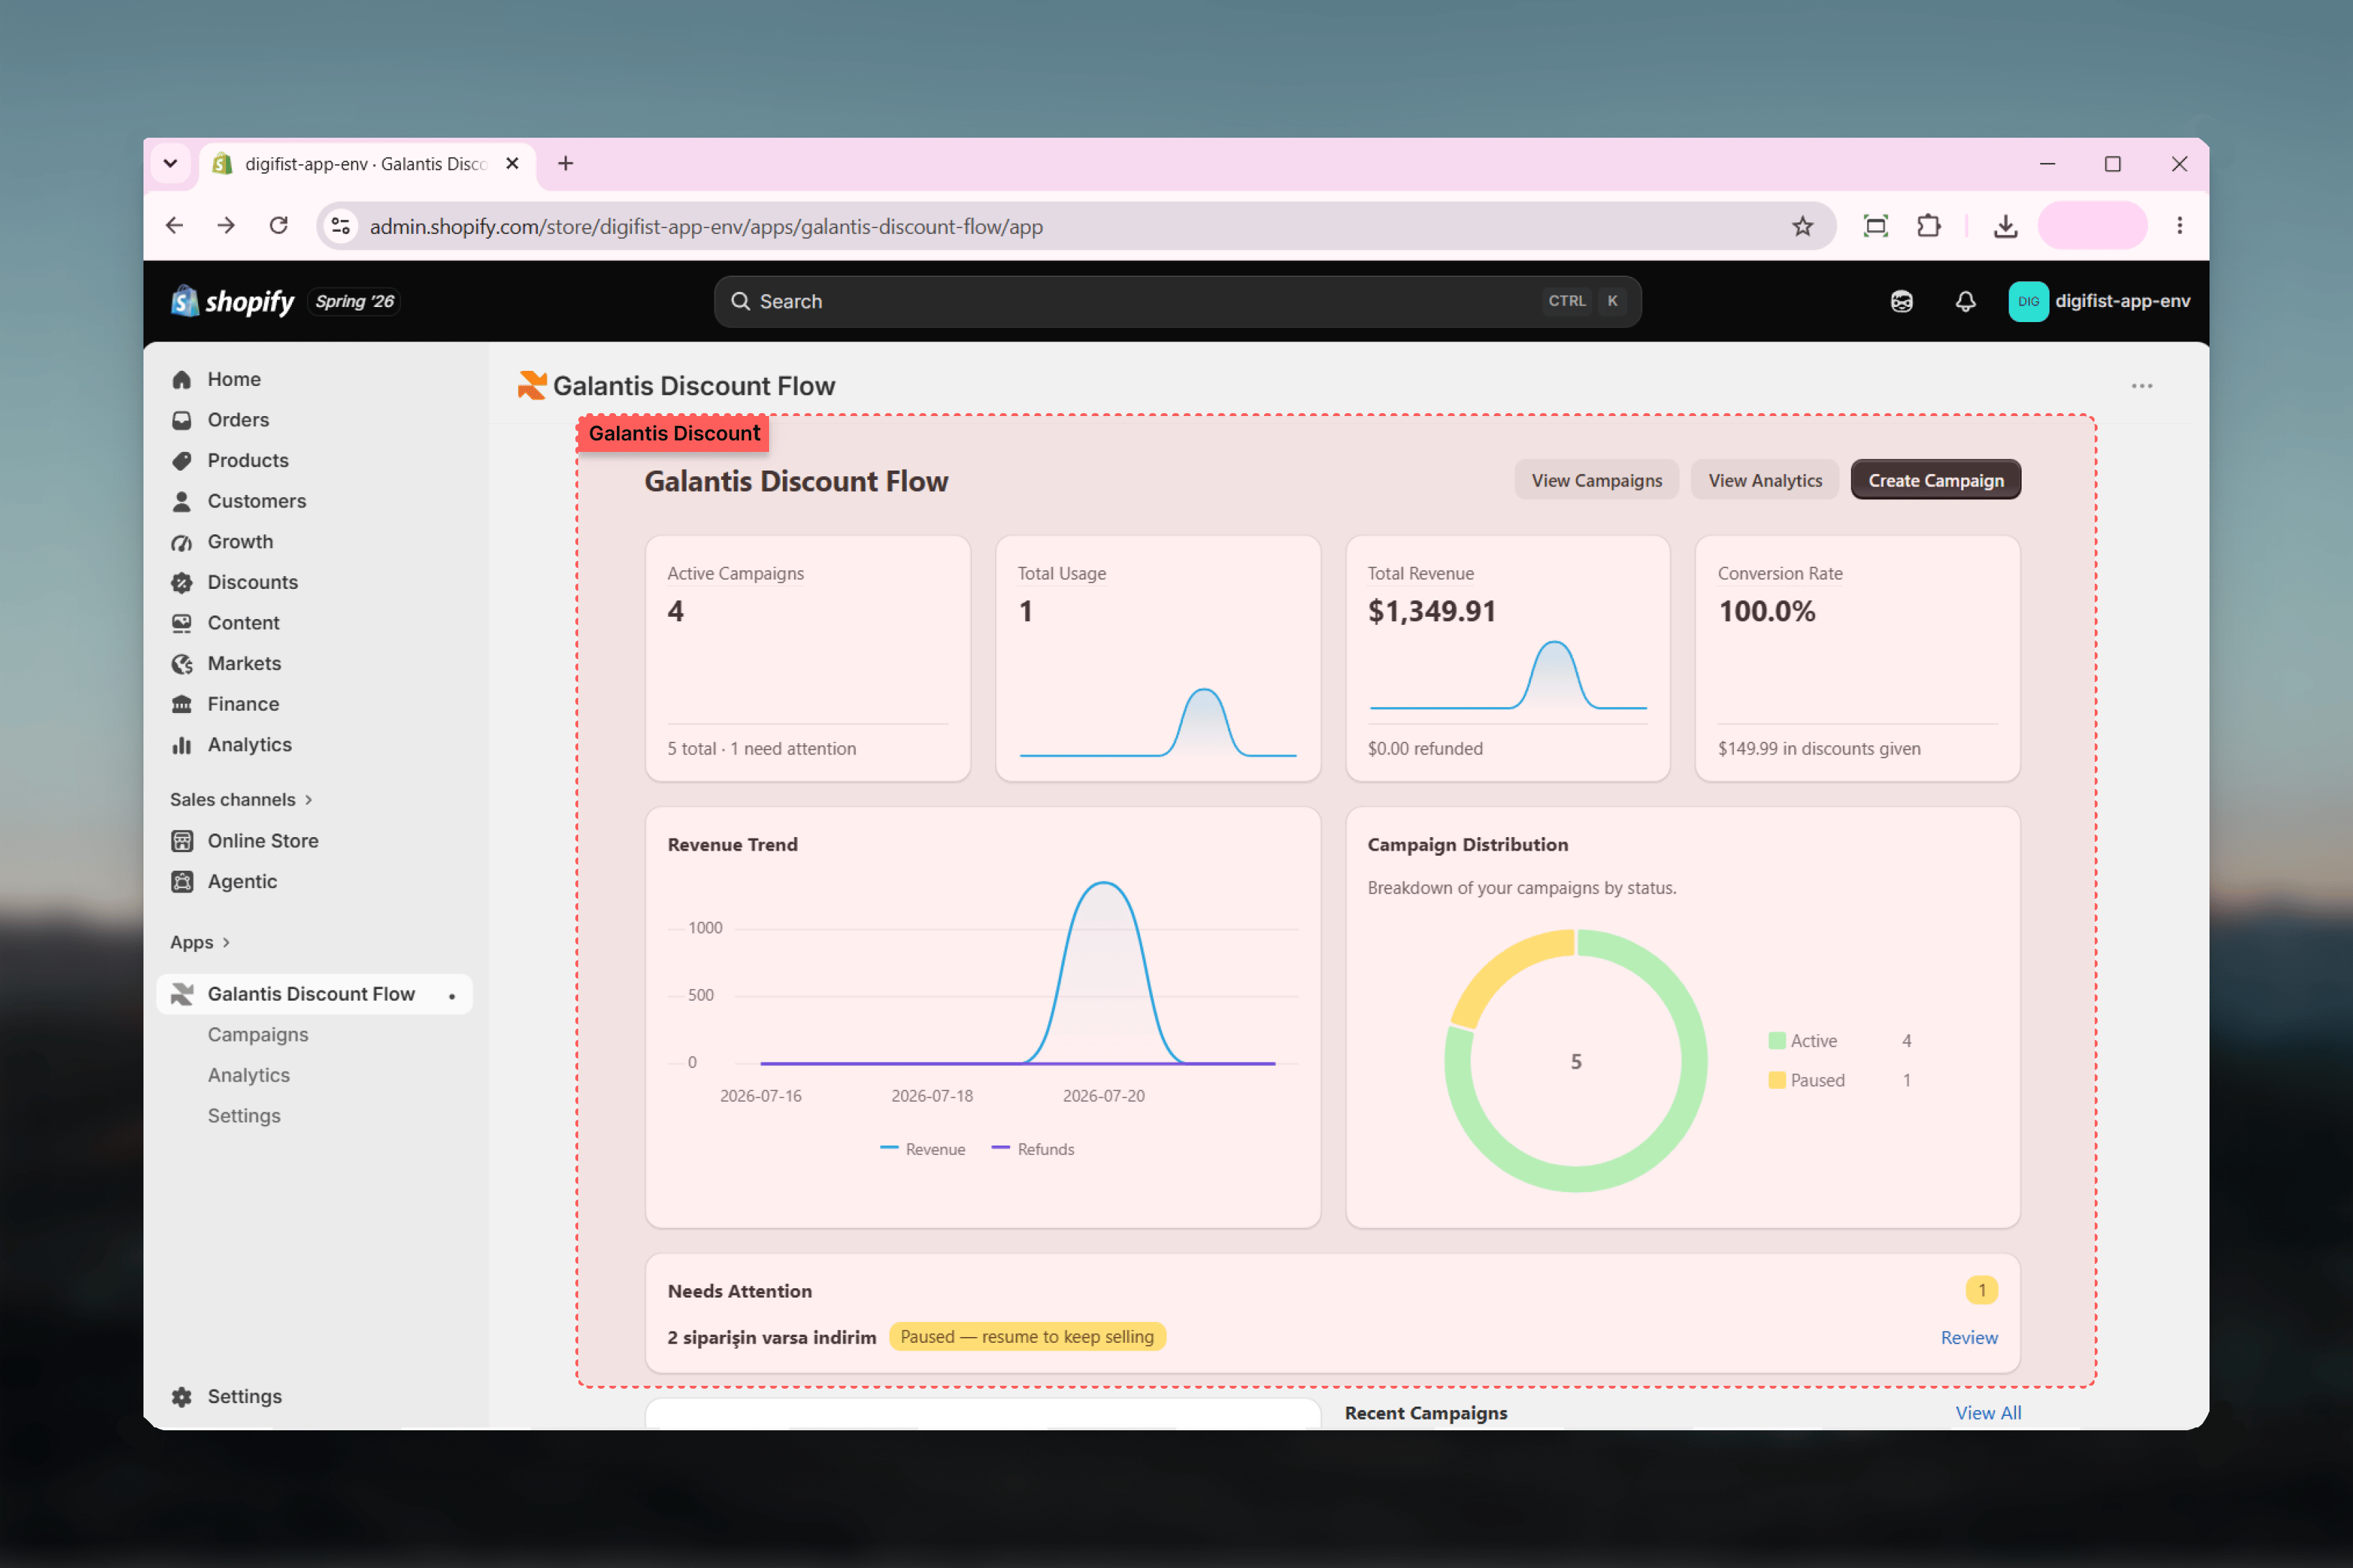
The guides in this section
Installation
The install flow, what each permission is for, the plan-selection redirect, and what happens right after install.
Your first campaign
A full walkthrough of the 3-step wizard using the Percentage Discount template, from template pick to published discount.
Storefront setup
Enable the theme app embed and understand each embed setting — and when the embed is required versus optional.